Condo Paint Touch-Ups in Downtown Toronto: When to Repaint the Whole Wall
Only have 30 seconds?
- Find the relevant service pages from the HomeHarbor home page.
- Gather the original paint label or request the building’s finish schedule.
- Agree on a test location and judge it once dry under typical lighting.
- Request prices for a local touch-up and for repainting the affected wall.
First decide what result you need
A paint repair can be successful for one room and still fall short in another. A small mark behind an open bedroom door might barely register in ordinary use. A similar mark near the living room window may be visible every afternoon. Tell the painter which views matter. For a wall that faces the sofa or the entry, show where you normally sit or stand and how the light falls across the area.
Before the visit, describe the damage in simple terms. Scuffs from moving chairs, holes from a picture and a rough area left by an earlier patch are different kinds of work. Send one wide photo showing the whole wall and a closer photo of the mark. Identify the nearest corner, switch or door frame so the person reading the quote can locate it. An image can help with preliminary scope, while an on-site inspection can establish what preparation the surface actually needs.
Next decide how much variation you can accept. If you are trying to tidy an occupied room, you might accept a small difference visible only from close range. If you are refreshing a wall for a listing, you may care just as much about how the wall reads from across the room or in photos. A written description of the desired result can keep a small job from turning into an argument about what “match” meant.
Collect evidence about the original finish
Look for a tin, a labelled sample, or an invoice from the last paint job. The colour name is helpful. The product line, sheen, tint code and date give the painter more to work with. If you find a can in a storage locker, check whether it identifies the room. Several cans with similar labels may have been used on walls, trim and doors. Photograph the full label and ask the painter to assess the material before assuming it can be reused.
The building’s original finish schedule can be useful if the unit still has the builder’s paint. Ask management whether such a schedule is available and whether it describes walls separately from trim. A prior owner may have repainted parts of the unit, so compare the record with the wall you have today. Even two rooms listed with the same colour can look different under different lighting, and the finish that was originally specified may no longer be on both walls.
If there is no reliable record, ask how the painter would approach matching. A paint retailer may be able to measure a suitable sample and formulate a colour, but the painter still needs to evaluate the actual wall and the dry finish. Have the painter discuss where a sample can be obtained and whether collecting it would leave another place to repair. A photo viewed on a phone is useful for locating damage and showing the overall setting. The display and lighting can change how colours appear, so use a physical comparison for the final decision.
Look at sheen and texture as well as colour
Colour is only one part of the repair. Sheen describes how the finish reflects light. A patch can look close when viewed straight on and stand out from the side if it reflects light differently. A wall with a window at one end can make that difference easier to see. Tell the painter if the mark is most noticeable in daylight or after an overhead light is switched on.
Texture matters whenever the surface or application varies. A patch that is smoother than the wall around it may show an outline even when the colour is close. A painter can explain whether the work includes preparing the existing patch, priming the repaired area or adjusting the way the finish is applied. If you can see or feel a ridge around an old repair, note its location. That observation helps the painter decide where to inspect before specifying paint work.
Start a separate conversation if the blemish looks damp or has kept returning. Ask what underlying work should be checked before the surface is decorated. A quote for painting should describe the condition it assumes and who will address anything outside that scope. For ordinary holes associated with removed wall hangings, see the small drywall and nail-hole guide for questions about the preparation itself.
Agree on a small trial before choosing the scope
If a touch-up appears feasible, ask whether a test can be included. Agree on the location and how it will be reviewed. A sample in a sheltered corner may answer a colour question while leaving you unsure how the finish will look beside the window where the damage actually is. Let the painter choose a reasonable location with you, given the need to protect nearby surfaces and avoid creating unnecessary work.
Ask when the product should be evaluated. A freshly applied patch can look different after it dries. Once the painter says it is ready to review, look at the area from the normal doorway and from the side where light crosses it. If possible, check with the room’s ordinary lamps and in daylight. A single photograph can document where the test was placed, but looking in person will usually give you the better view of sheen around the edge.
Decide what happens after the test. If it blends to your satisfaction, confirm where else the same approach should be used. If the patch remains conspicuous, ask if the next step is to try another finish or quote a larger area. Agree in advance on whether the test is separately chargeable, whether it is credited to another scope and who supplies the paint used for it. Those details matter when the final wall price depends on a separate visit.
Compare touch-up and wall repainting in writing
A local touch-up quote should identify the individual marks, the preparation included and how the painter will review the result. Ask whether the painter supplies matching material, uses paint you provide or buys a new quantity after a sample is approved. If multiple marks appear on the same wall, ask whether the total work is still economical as separate repairs.
For a wall repaint, ask where the surface starts and ends. A corner, a change in plane or an obvious transition can give the painter a clear stopping point. An open-plan condo may have a long wall shared by the entry, kitchen and living area. Two quotes for “one wall” could cover very different areas if one ends at a doorway and the other continues along the kitchen. Use a photo or short written description to confirm the boundary. Ask about trim, baseboards and adjoining ceilings as separate surfaces.
Check that both options include the preparation needed for the underlying marks, and identify work that applies only to the larger surface. Confirm how furniture, art and floors will be protected and when the room will be usable again. If the job is in an occupied suite, the occupied-room repaint guide offers related planning questions. Record whether there is a follow-up visit and what would prompt a change to the agreed cost.
For example, a resident may want three marks repaired beside a south-facing window and two holes filled behind a bookcase. The resident can ask for the window wall to be priced as one surface and the low-visibility area to be priced as a localized repair. This lets them choose how much work is worth doing based on where the marks actually affect the room. A useful quote gives the unit owner that choice with clear boundaries and a price for each item.
Use the downtown map to plan access and timing
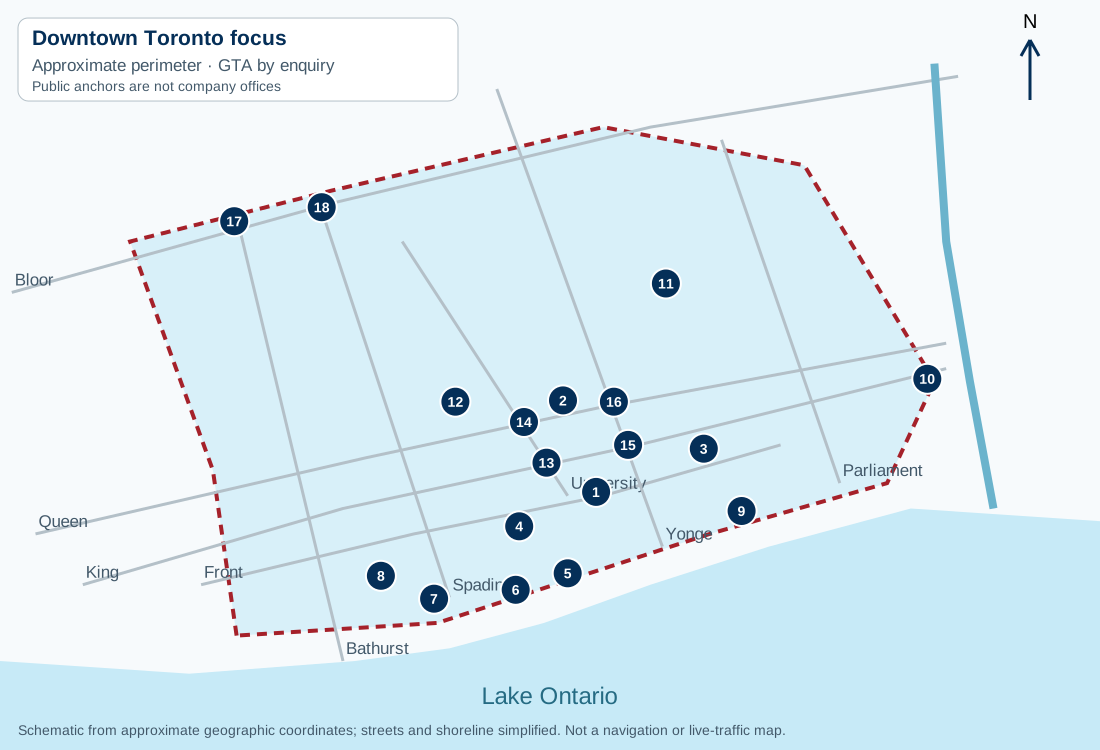
Use the map above to orient the visit around St. Lawrence, Front Street East and Jarvis Street. Give the painter the full property address, unit number, postal code and correct entrance. A visitor might approach from Front Street while someone bringing a drop cloth, paint and tools needs a different entrance. Ask the building directly which access arrangements apply to the actual job.
- Parking and unloading. Identify an approved loading point or visitor space and explain any check-in or time limits.
- Step-free access. Confirm the entrance, elevator and floor route if someone needs a step-free trip to the suite.
- Transit and walking. If the parties are meeting in the lobby, agree on the street entrance and allow time to travel from the station or stop.
- Building coordination. Confirm any restrictions on work hours, elevator use or transporting supplies before the painter commits to a time.
If you are asking for two visits, account for both in the plan. The first may be for inspection or a test and the second for the approved scope. A resident who works away from the building may need to arrange entry twice. Ask whether photos and paint records can answer initial questions before an in-person appointment. Share any building access information through the channel the provider and management use for the booking.
Check the finished work and save the paint record
At handover, review the same viewpoints you discussed before booking. Start from the room’s normal entrance and move to the places where light is most likely to show a difference. If part of the work is still drying, agree on when to evaluate it and what to do if the result remains visible. Use the written scope to identify which wall, mark or surface that conversation applies to.
Ask the painter to record the product and sheen, colour or tint formula, and the surfaces where they were used. If they leave a can, label it for the room and wall while the details are fresh. Keep the invoice and the label photo together. This gives you a useful starting point if a new mark appears after furniture is moved or if someone else needs to arrange work later.
Condo paint touch-ups in downtown Toronto are easier to price when everyone can see the wall, identify the finish and agree on what a satisfactory repair looks like. A small test can settle questions about a local patch, and a written edge-to-edge quote gives you a practical option when the test stays visible.